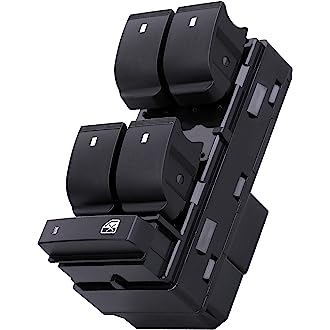
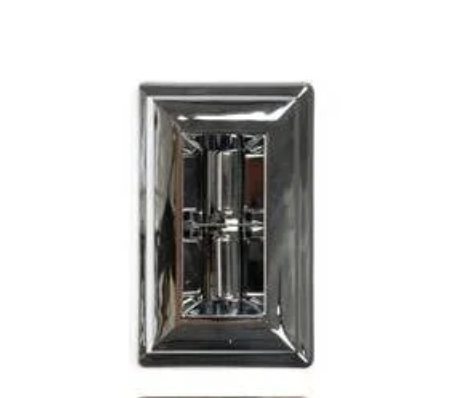
8 Pin Power Window Switch Wiring Diagram
Creating a wiring diagram for an 8-pin power window switch can be complex, as the specific configuration can vary depending on the make and model of the vehicle. However, I can provide a general idea of how an 8-pin power window switch might be typically wired. This should give you a basic understanding, but for exact wiring, you would need to refer to the service manual for your specific vehicle or the technical documentation for the switch.
General 8-Pin Power Window Switch Wiring:
-
12V Power Supply: One of the pins is connected to the vehicle's 12V power supply, usually through the fuse box.
-
Ground Connection: Another pin is used for grounding the circuit.
-
Window Motor Control Pins: There are usually separate pins for controlling the up and down functions of the window motor. These include:
- Up Control for Driver Window
- Down Control for Driver Window
-
Control for Other Windows: If the switch is a master switch (commonly found on the driver's door), it will have additional pins to control the passenger windows. These might include:
- Up and Down Control for Front Passenger Window
- Up and Down Control for Rear Windows (if applicable)
-
Illumination: Some switches have an illumination feature for visibility at night.
-
Safety Features or Additional Controls: Depending on the vehicle, there might be pins for safety features like auto-up/auto-down or window lock functionality.
Example Wiring Layout:
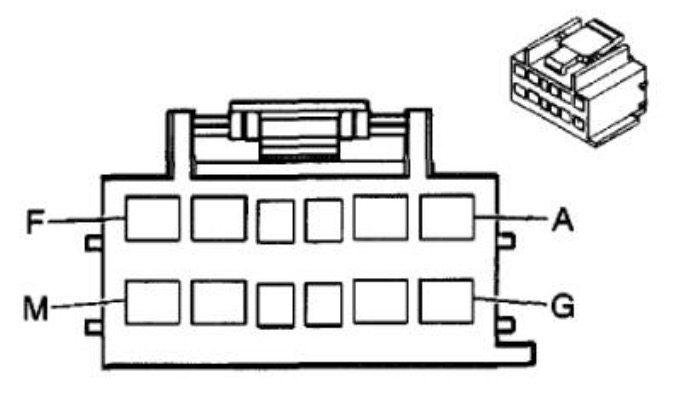
| Connector Part Information |
· 15336889 · 12-Way F GT 150280 (MD GRY) |
||
| Pin | Wire Color |
Circuit No. |
Function |
| A | DK BLU | 164 | Power Window Motor Left Front Up |
| B | LT BLU | 166 | Power Window Master Switch Left Front Up Signal |
| C | TAN | 167 | Power Window Master Switch Left Front Down Signal |
| D | DK BLU | 1307 | Power Window Master Switch Lockout Signal |
| E | — | — | Not Used |
| F | DK GRN | 1001 | RAP [X]Fuse Supply Voltage |
| G | BLK | 1850 | Ground |
| H | BLK | 1850 | Ground |
| J-L | — | — | Not Used |
| M | BRN | 165 | Power Window Motor Left Front Down |
Important Considerations:
- Vehicle Specific Diagram: It's crucial to use a wiring diagram specific to your vehicle model and year, as the wiring can significantly vary.
- Labeling and Documentation: If you're replacing or working on the switch, label all connections and take notes or photographs before disconnecting anything.
- Safety Precautions: Disconnect the battery before working on electrical components to avoid the risk of shock or accidental short circuits.
- Professional Consultation: If you're unsure about the wiring or encounter complex issues, it's advisable to consult a professional mechanic or auto electrician.
Remember, this is a generalized diagram and might not accurately represent all 8-pin power window switches, especially those with additional features like auto-up/auto-down or programmable settings.
