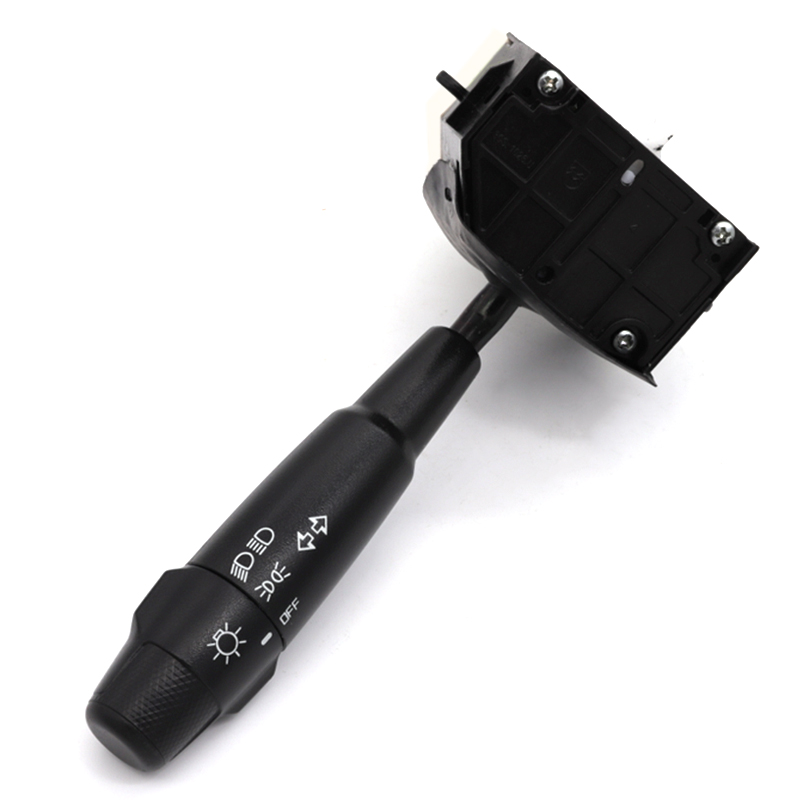
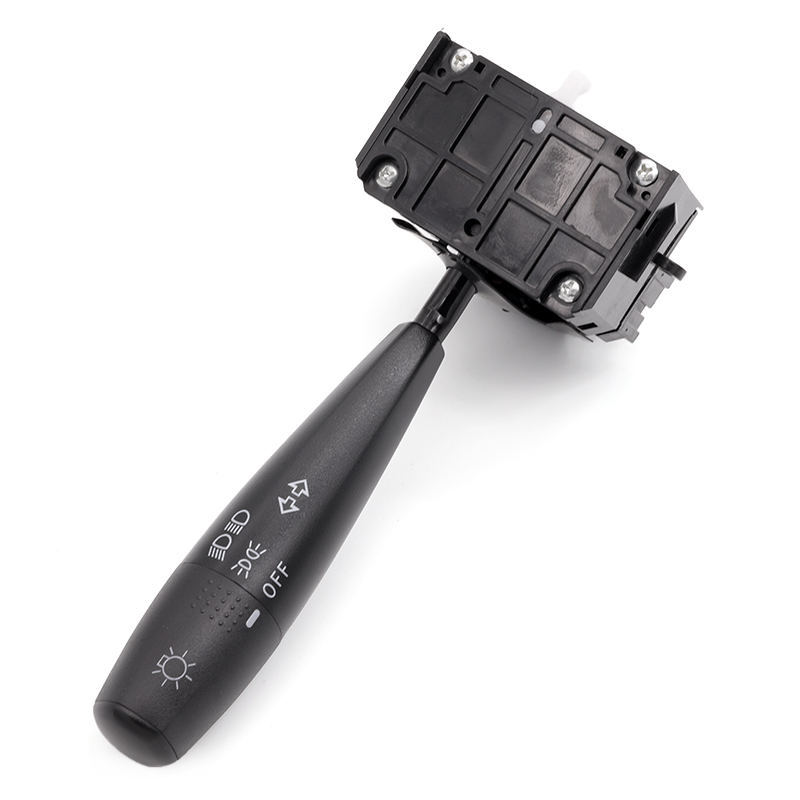
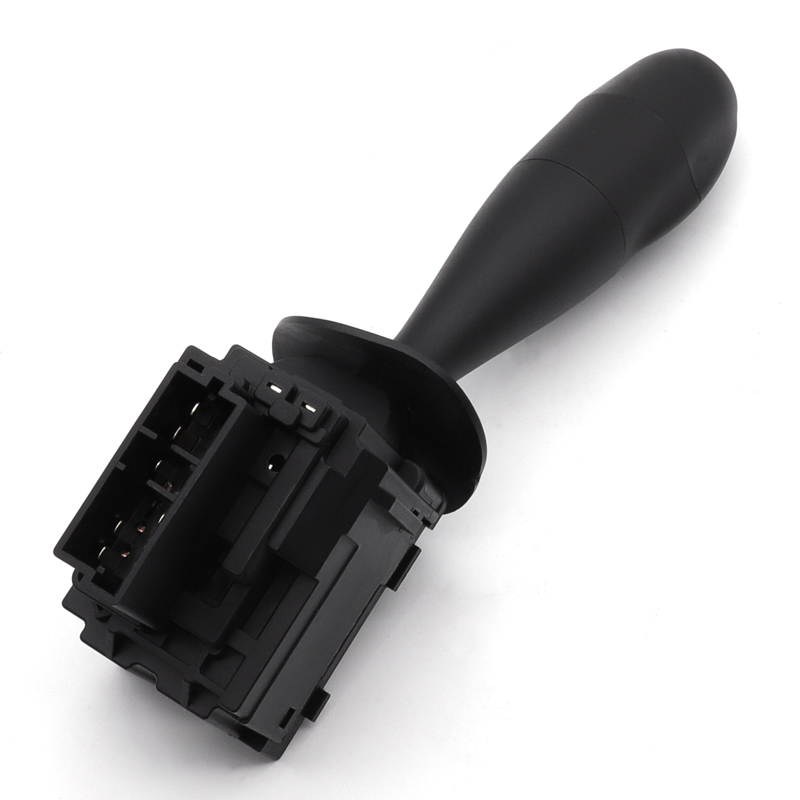
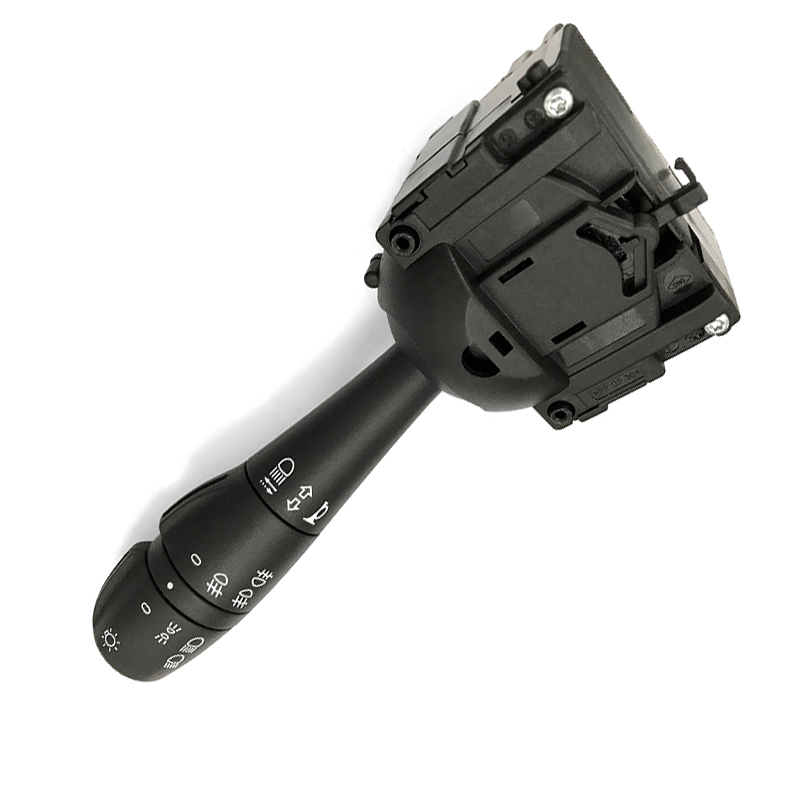
How To Install Power Window Switch?
Publish Time: Author: Site Editor Visit: 386
Installing a power window switch in your vehicle is a task that can be completed with some basic tools and a bit of patience. The exact procedure can vary depending on your vehicle's make and model, so it's always a good idea to consult the vehicle's service manual for specific instructions. Here's a general guide:
Tools You May Need
- Screwdrivers (both Phillips and flathead)
- Trim removal tool (optional, but helpful for removing panels without damaging them)
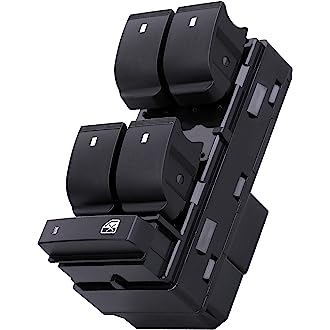
- A new power window switch compatible with your vehicle model
Safety Precautions
- Turn off the engine and remove the keys from the ignition.
- To prevent any electrical issues, disconnect the negative terminal of the battery.
Steps to Install the Power Window Switch
-
Access the Switch:
- The switch is usually located on the door panel or the center console. You may need to remove the panel or a section of it to access the switch.
- Use a trim removal tool or a flathead screwdriver to gently pry off the panel. Be cautious to avoid damaging the trim.
-
Remove the Old Switch (if replacing):
- Once you have access, locate the power window switch.
- Disconnect the switch by pressing the tab or clip on the electrical connector and gently pulling it off.
- The switch may be secured with screws or clips. Remove these as needed to free the switch from its housing.
-
Install the New Switch:
- Position the new switch in the same place as the old one. Make sure it fits snugly and is aligned correctly.
- Secure the switch with any screws or clips that were originally used.
- Reconnect the electrical connector to the new switch. Ensure it is firmly in place.
-
Test the Switch:
- Before reassembling everything, it's a good idea to test the switch.
- Reconnect the battery (if it was disconnected), turn the ignition to the "on" position, and test the functionality of the window with the new switch.
-
Reassemble the Panel:
- Once you have confirmed that the switch is working correctly, reattach any panels or trim that were removed.
- Ensure all screws are tightly fastened and that the panel sits flush and secure.
Additional Tips
- Handle all electrical connectors and clips with care to avoid breaking them.
- Ensure the replacement switch is the correct part for your specific vehicle.
- If the window does not operate after installation, recheck your connections and ensure the switch is properly seated.
- If you encounter any difficulties or the switch still doesn't work, it might be best to consult a professional mechanic.
Remember, this guide provides a general approach, and some steps may vary based on your vehicle's design. Always refer to your vehicle's service manual for the most accurate instructions.