Ultimate Guide Power Window Switch Replacement
Publish Time: Author: Site Editor Visit: 412
Replacing a power window switch in a vehicle is a task that you can often perform yourself with some basic tools and a bit of patience. Here’s a general guide on how to replace a power window switch:
Tools and Materials Needed
- Screwdrivers (flathead and Phillips).
- Trim removal tool (optional but helpful for prying without damaging).
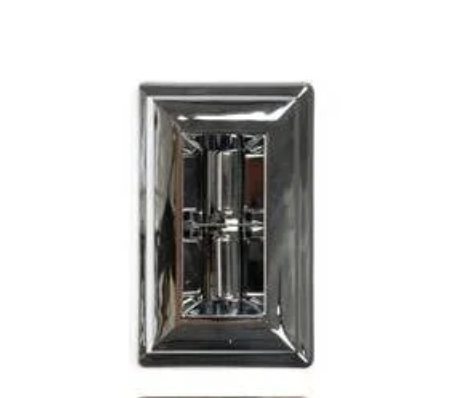
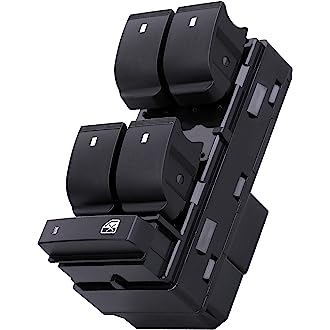
- New power window switch (specific to your vehicle model).
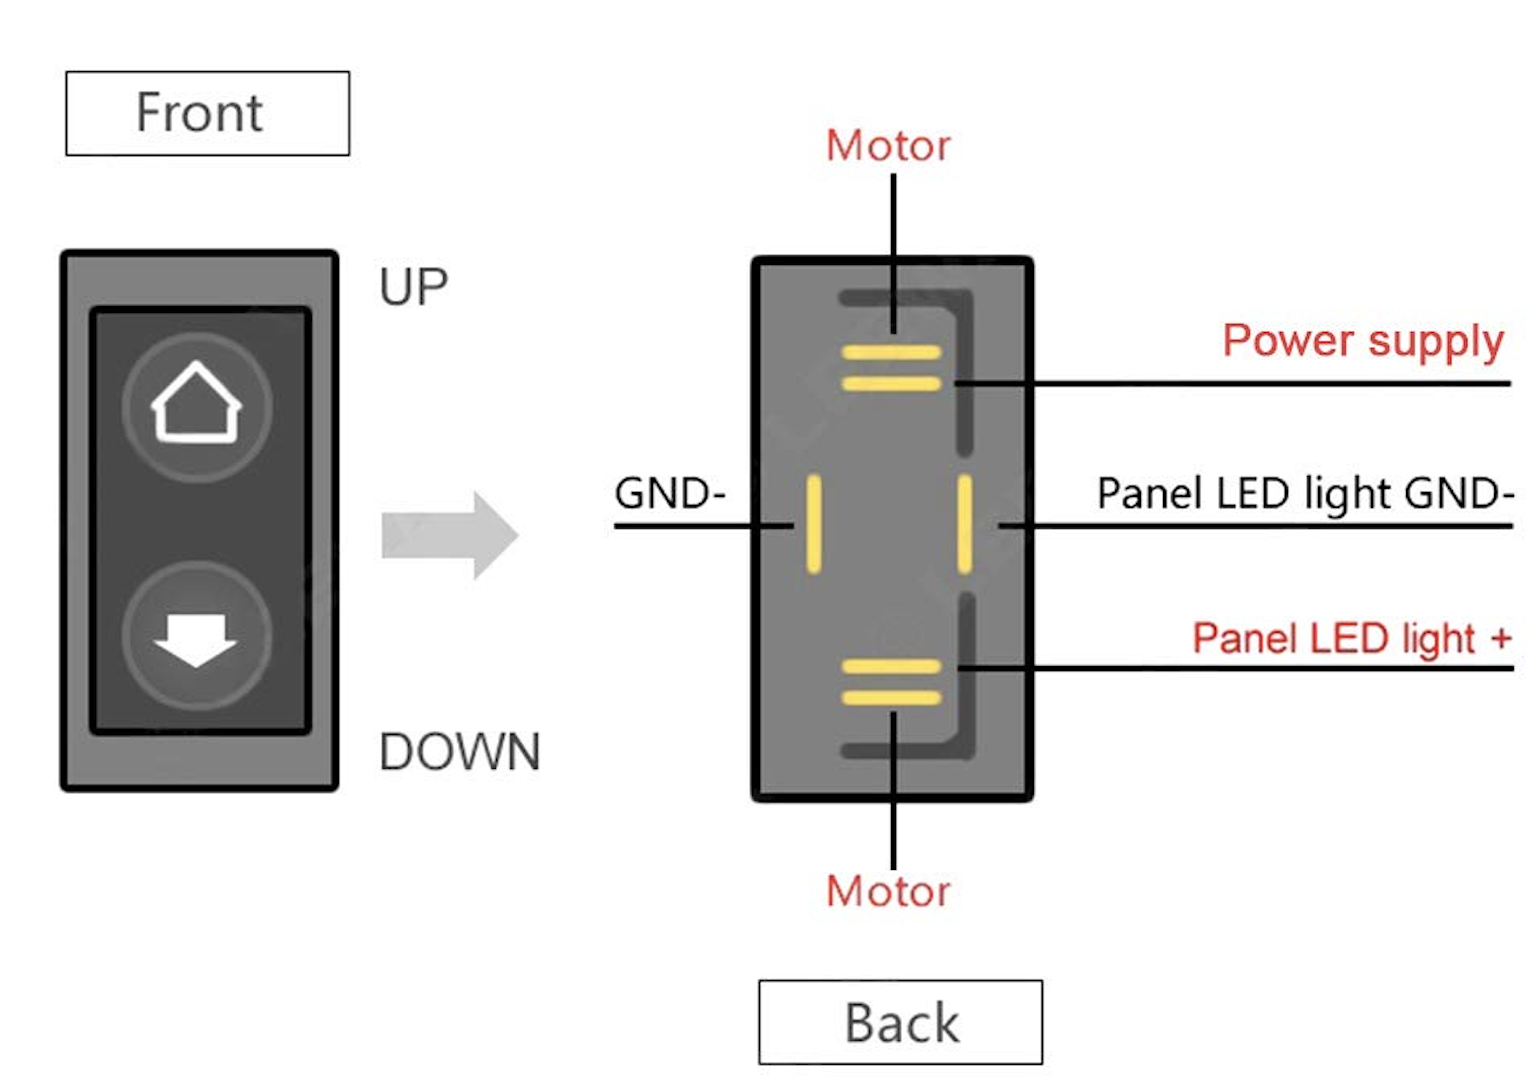
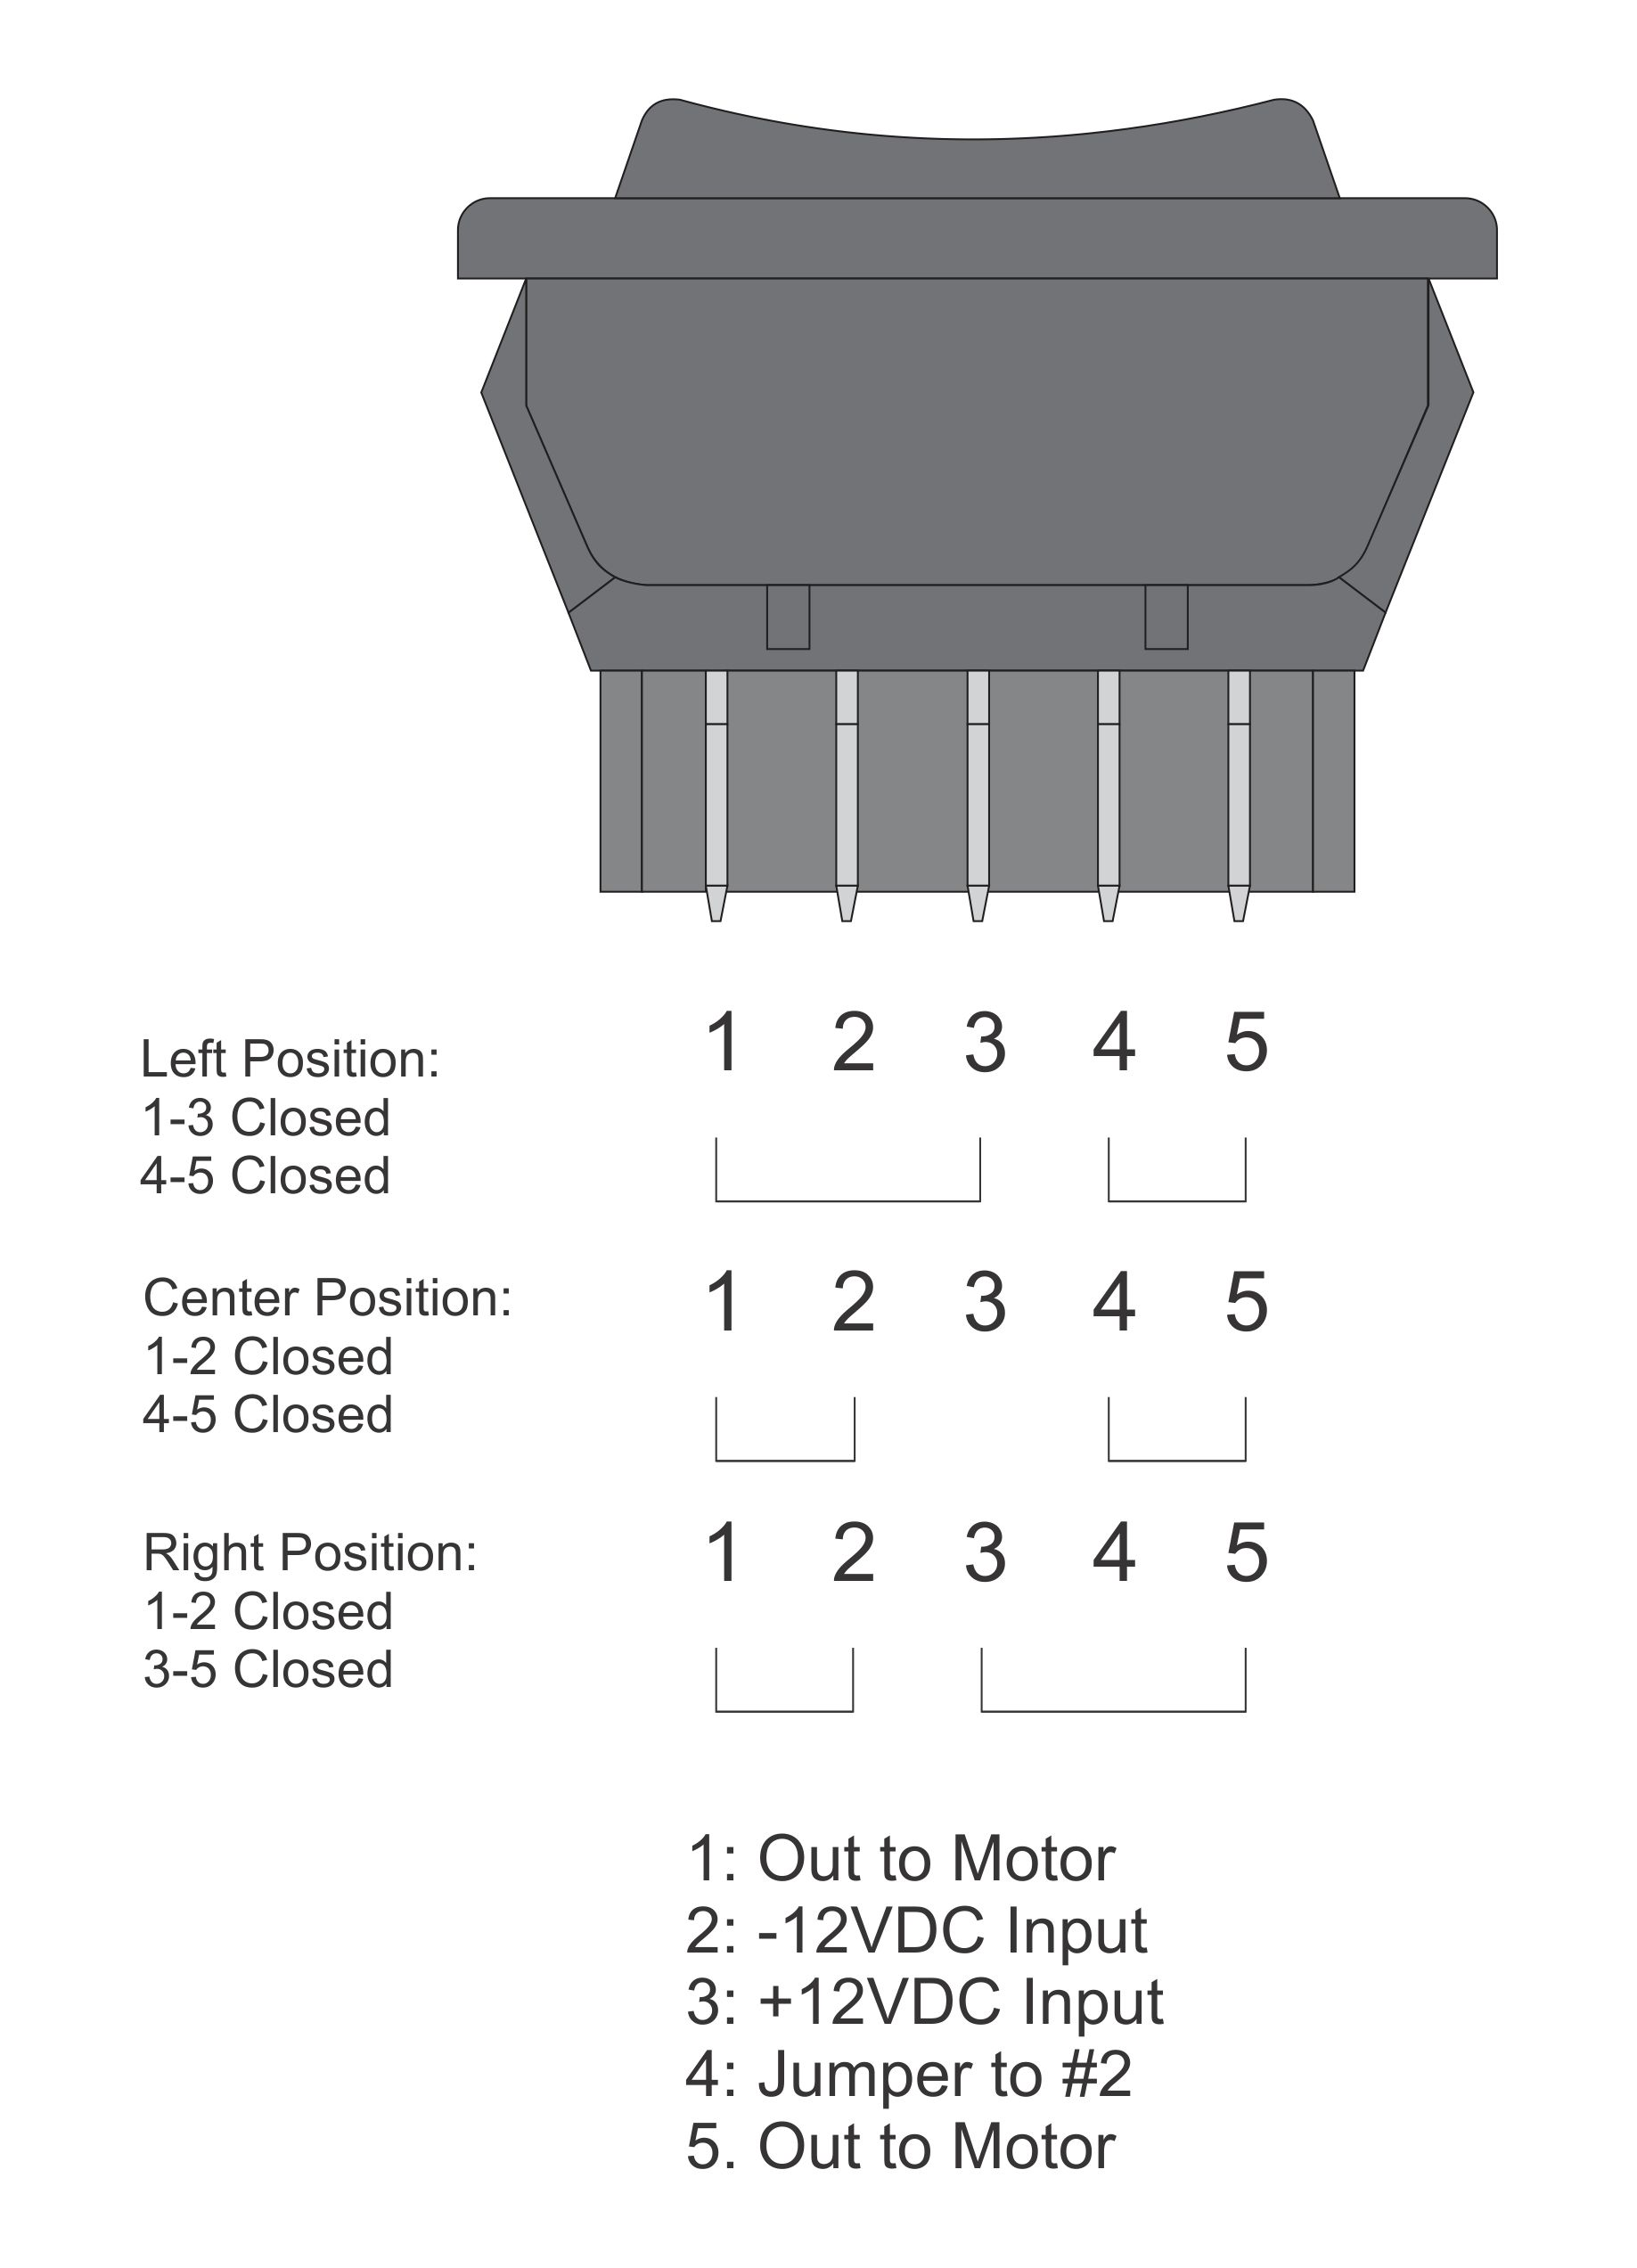
- Vehicle’s service manual (for specific instructions and wiring diagrams).
Steps to Replace a Power Window Switch
-
Disconnect the Battery: Always start by disconnecting the negative terminal of your car's battery to prevent any electrical shorts or accidents.
-
Remove the Door Panel or Switch Housing:
- In some vehicles, you may need to remove the entire door panel to access the switch. Use the screwdrivers and trim removal tool to gently pry off the panel. There may be hidden screws under caps or within the door handle area.
- In other cases, only the switch housing or a section of the trim needs to be removed.
-
Detach the Old Switch:
- Once you have access, locate the power window switch. It’s usually held in place by clips or screws.
- Gently pry or unscrew the switch from its housing.
- Disconnect the wiring harness attached to the switch. Be careful not to damage the connector.
-
Connect the New Switch:
- Attach the wiring harness to the new switch. Ensure the connection is secure.
- Place the new switch into its position and secure it with the original clips or screws.
-
Reassemble the Door Panel:
- Carefully put back any part of the door panel or trim that was removed.
- Ensure all screws are tightened, and the panel is securely in place.
-
Test the New Switch:
- Reconnect the car battery.
- Test the new switch to make sure the window operates smoothly in both directions.
- Check for any unusual noises or resistance.
Tips and Cautions
- Get the Right Part: Ensure the replacement switch is the correct one for your vehicle's make, model, and year.
- Handle with Care: Be gentle when removing and reattaching parts to avoid breaking plastic clips or damaging the door panel.
- Consult the Service Manual: For specific details related to your car, refer to its service manual. This can provide valuable information on panel removal and switch replacement procedures.
- Safety First: If you’re not confident in performing this task, or if the procedure seems too complex for your vehicle, consider having the replacement done by a professional.
Remember, these steps are general and might vary depending on the vehicle. Always refer to your vehicle's specific manual for detailed instructions.
